How to Install SFDX-CLI on Ubuntu 20.04 to Boost Developer Productivity
SFDX-CLI is the key touchpoint between the open source devops world and the Salesforce platform. It is a must-have utility for all Salesforce developers. In this tutorial I install SFDX-CLI with my favorite productivity-boosting tools. I use Node Version Manager to help manage the NodeJS and NPM installations needed for SFDX-CLI. I also install the ZSH shell to help with SFDX-CLI autocomplete. And I include some tips to make your terminal look good with a Powerline font.
Use A Fresh Ubuntu 20.04 Installation
To install SFDX-CLI get started with a fresh Ubuntu 20.04 Server installation on one of these platforms:
- Bare-metal installation
- Virtual Machine
- Windows Subsystem for Linux (WSL)
After initial installation be sure to run sudo apt update ; sudo apt upgrade -y to install the latest operating system updates.
Install Fira Code Retina Font
Over the next steps I will pick the “agnoster” theme to enhance my terminal display with Oh My Zsh. This theme needs a Powerline font to display special characters and colors. My favorite Powerline terminal font is Fira Code Retina.
Download the TTF file to your Mac or Windows workstation. Install the new font by double-clicking it and following the on-screen instructions. Set Fira Code Retina to be the default font in your terminal app and VS Code.
Install Oh My Zsh
I use Oh My Zsh to enhance my daily productivity when using a Linux terminal. In the case of this tutorial, I rely on its plugin feature, which includes easy setup of SFDX-CLI autocompletion.
Install Zsh as Root
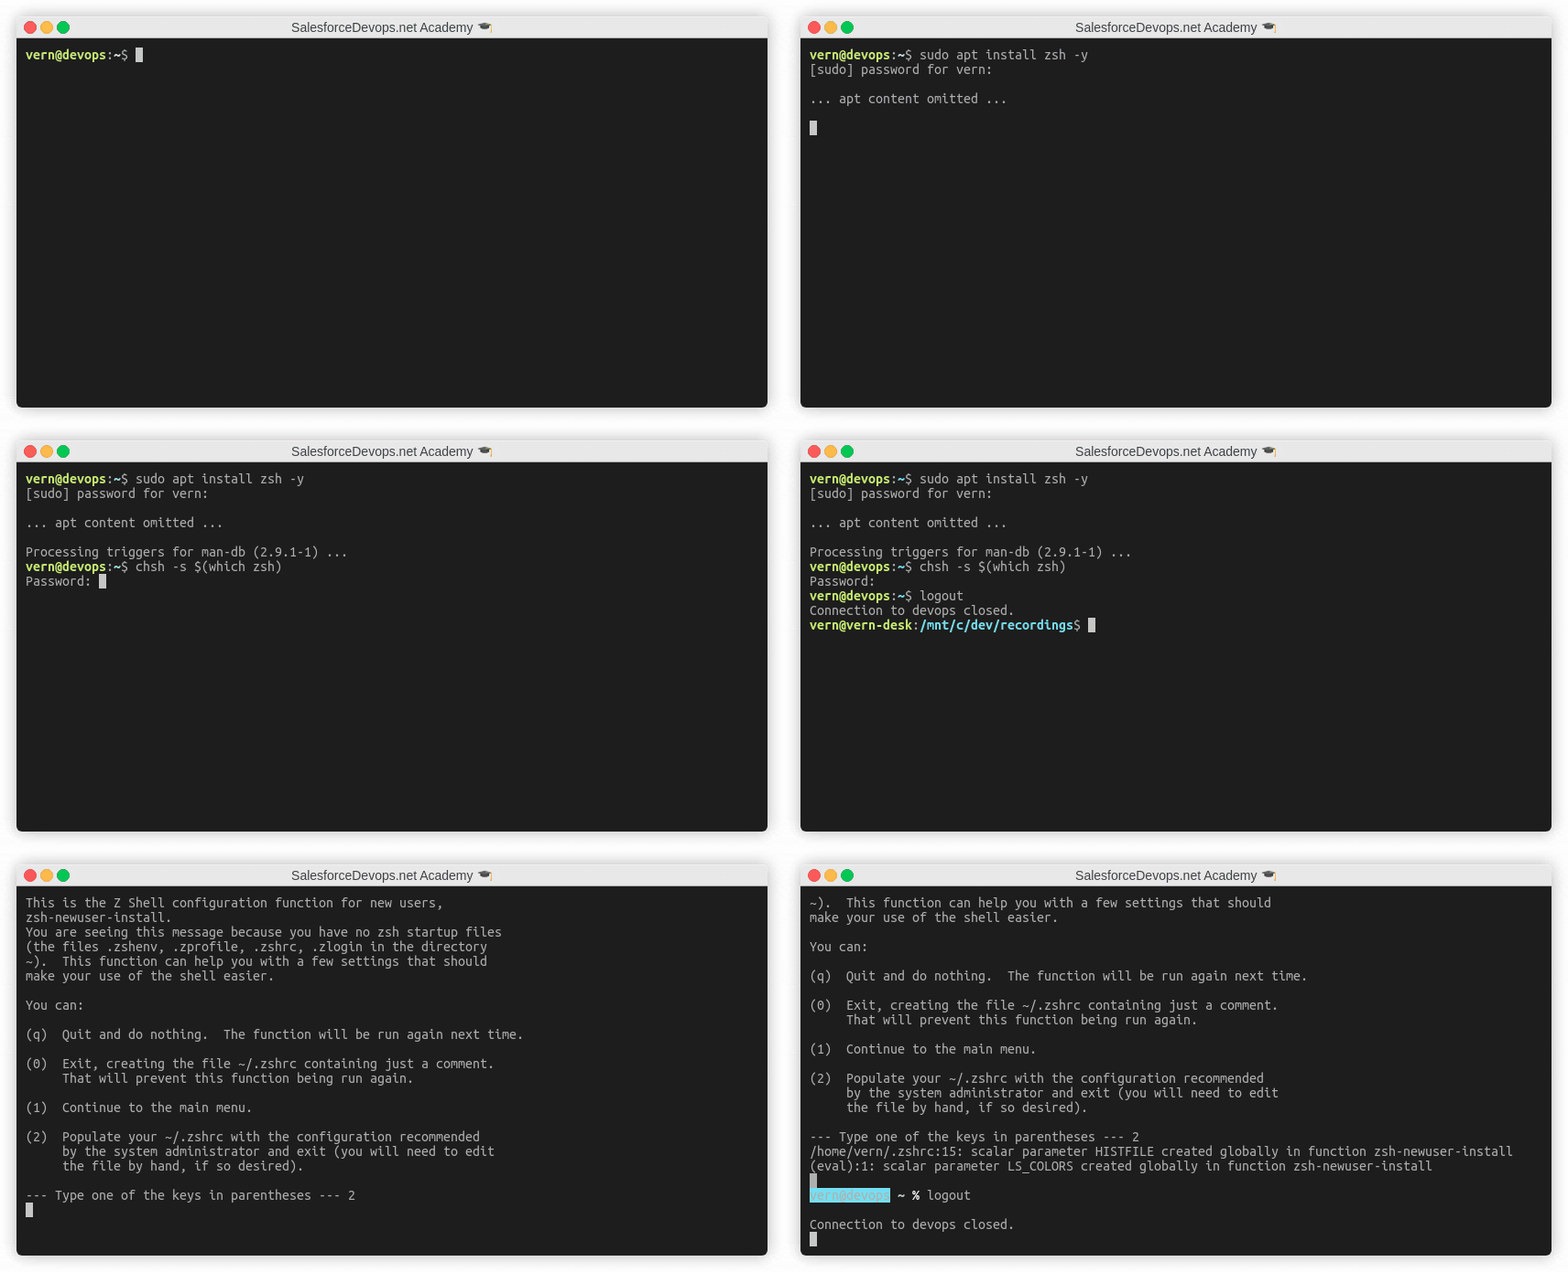
The first step is to install the Zsh shell and set the current user to use it.
sudo apt install zsh -y
chsh -s $(which zsh)
Logoff of this terminal session and start a new one to continue. When logging in with Zsh for the first time you will be presented with a set of options. Select option #2 to have Zsh pre-populate your new configuration file.
Log off and back on to continue.
Install Oh My Zsh as a User
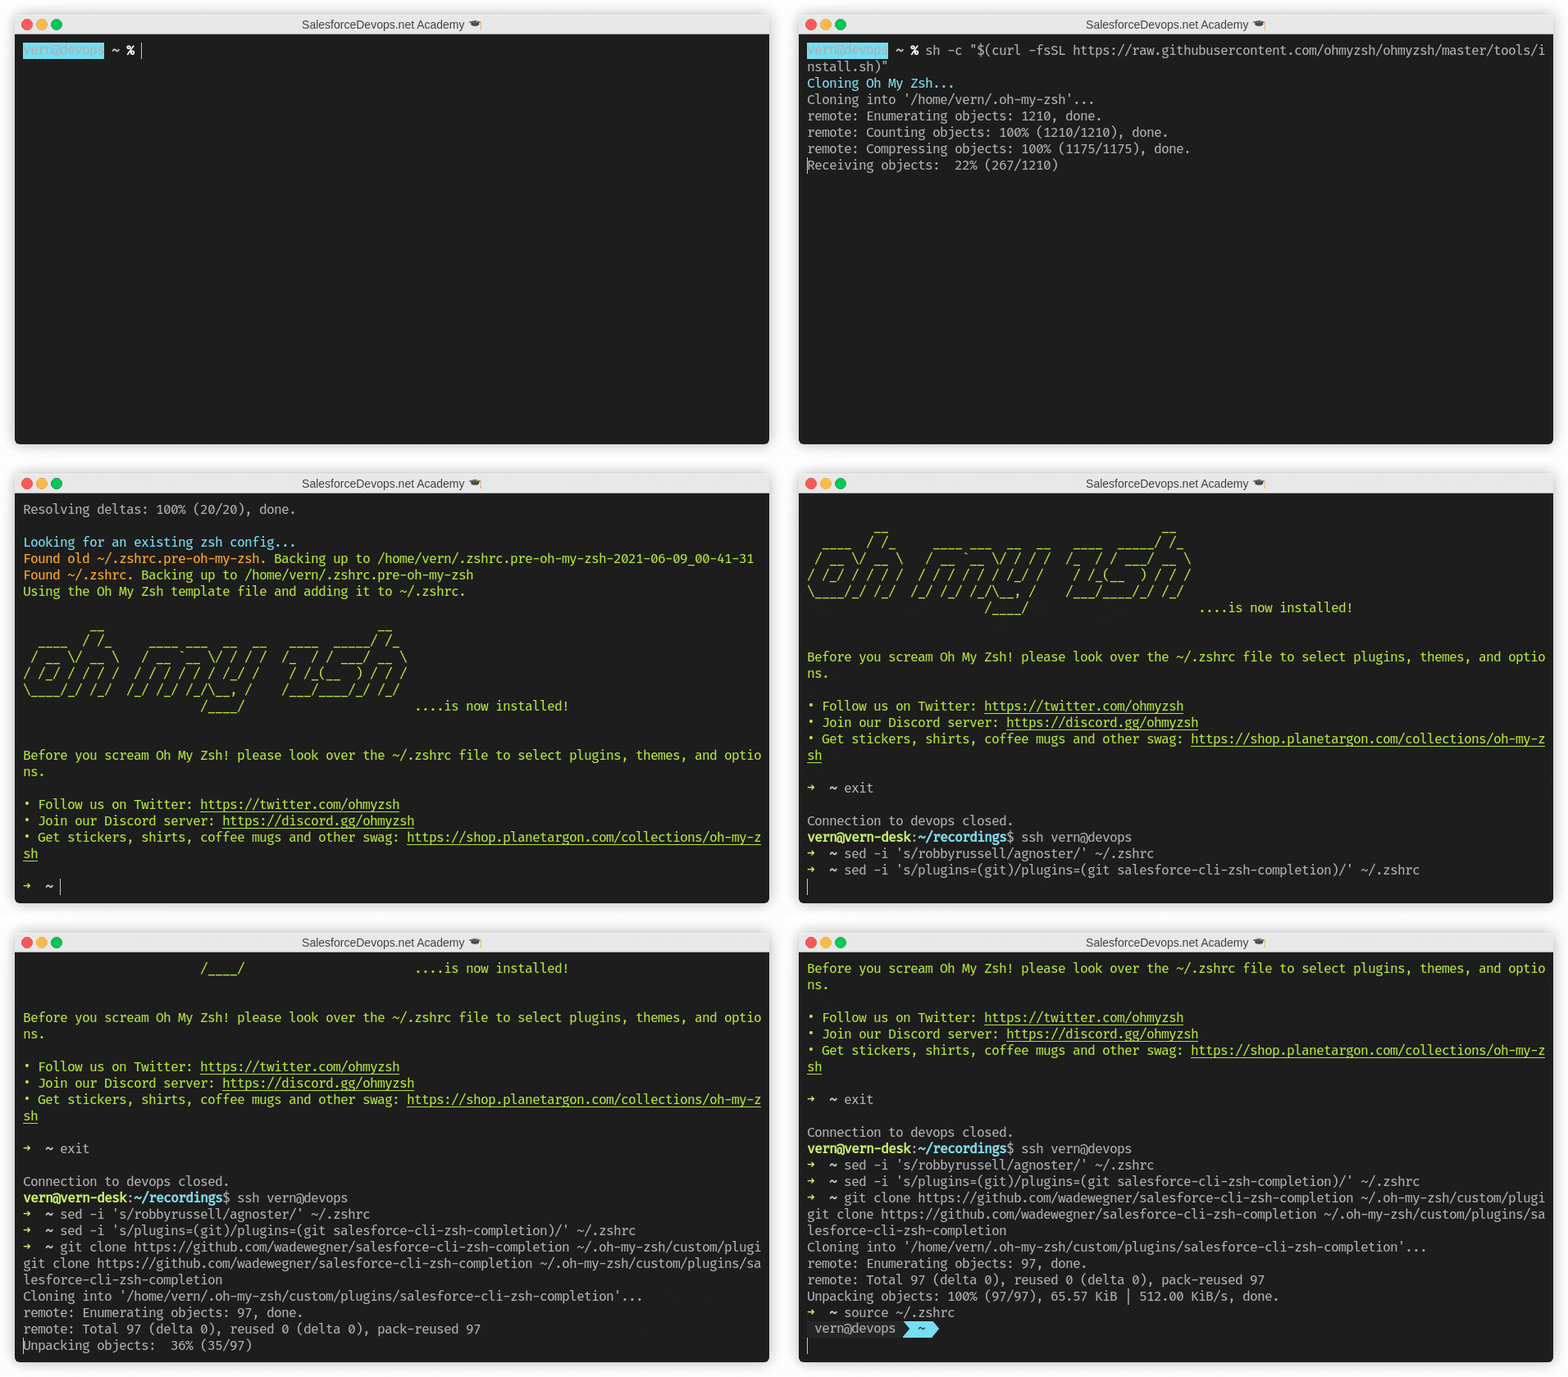
After installing Zsh with a default configuration, install Oh My Zsh with this command:
sh -c "$(curl -fsSL https://raw.githubusercontent.com/ohmyzsh/ohmyzsh/master/tools/install.sh)"
Log off and back on to continue.
Configure Oh My Zsh
After ZSH is installed the shell startup file becomes .zshrc. To configure Oh My Zsh edit .zshrc and change the theme and plugin commands.
sed -i 's/robbyrussell/agnoster/' ~/.zshrc
sed -i 's/plugins=(git)/plugins=(git salesforce-cli-zsh-completion)/' ~/.zshrc
Next, to update the Zsh autocompletion database for SFDX-CLI run these commands:
git clone [email protected]:wadewegner/salesforce-cli-zsh-completion.git ~/.oh-my-zsh/custom/plugins/salesforce-cli-zsh-completion
source ~/.zshrc
Install NVM, NodeJS, and NPM
SFDX-CLI is a NodeJS application and it requires the installation of a full NodeJS system plus the Node Package Manager (NPM) within the user context.
What is Node Version Manager (NVM)?
Node Version Manager (NVM) is a Linux utility that eases the installation and management of NodeJS and NPM. All of these utilities work best if each is installed individually using individual user logins. Avoid installing NodeJS as root or using sudo to keep NodeJS and NPM working smoothly.
Pick a NodeJS Version
These instructions install version 14 of NodeJS, which is the latest long term support (LTS) version of NodeJS. However, many NPM libraries and applications are still not v14 compatible. For that reason, many developers prefer to stick with v12.
Using the LTS version is recommended however, and v14 should be used to build an SFDX-CLI installation with minimal security vulnerabilities.
Install NVM
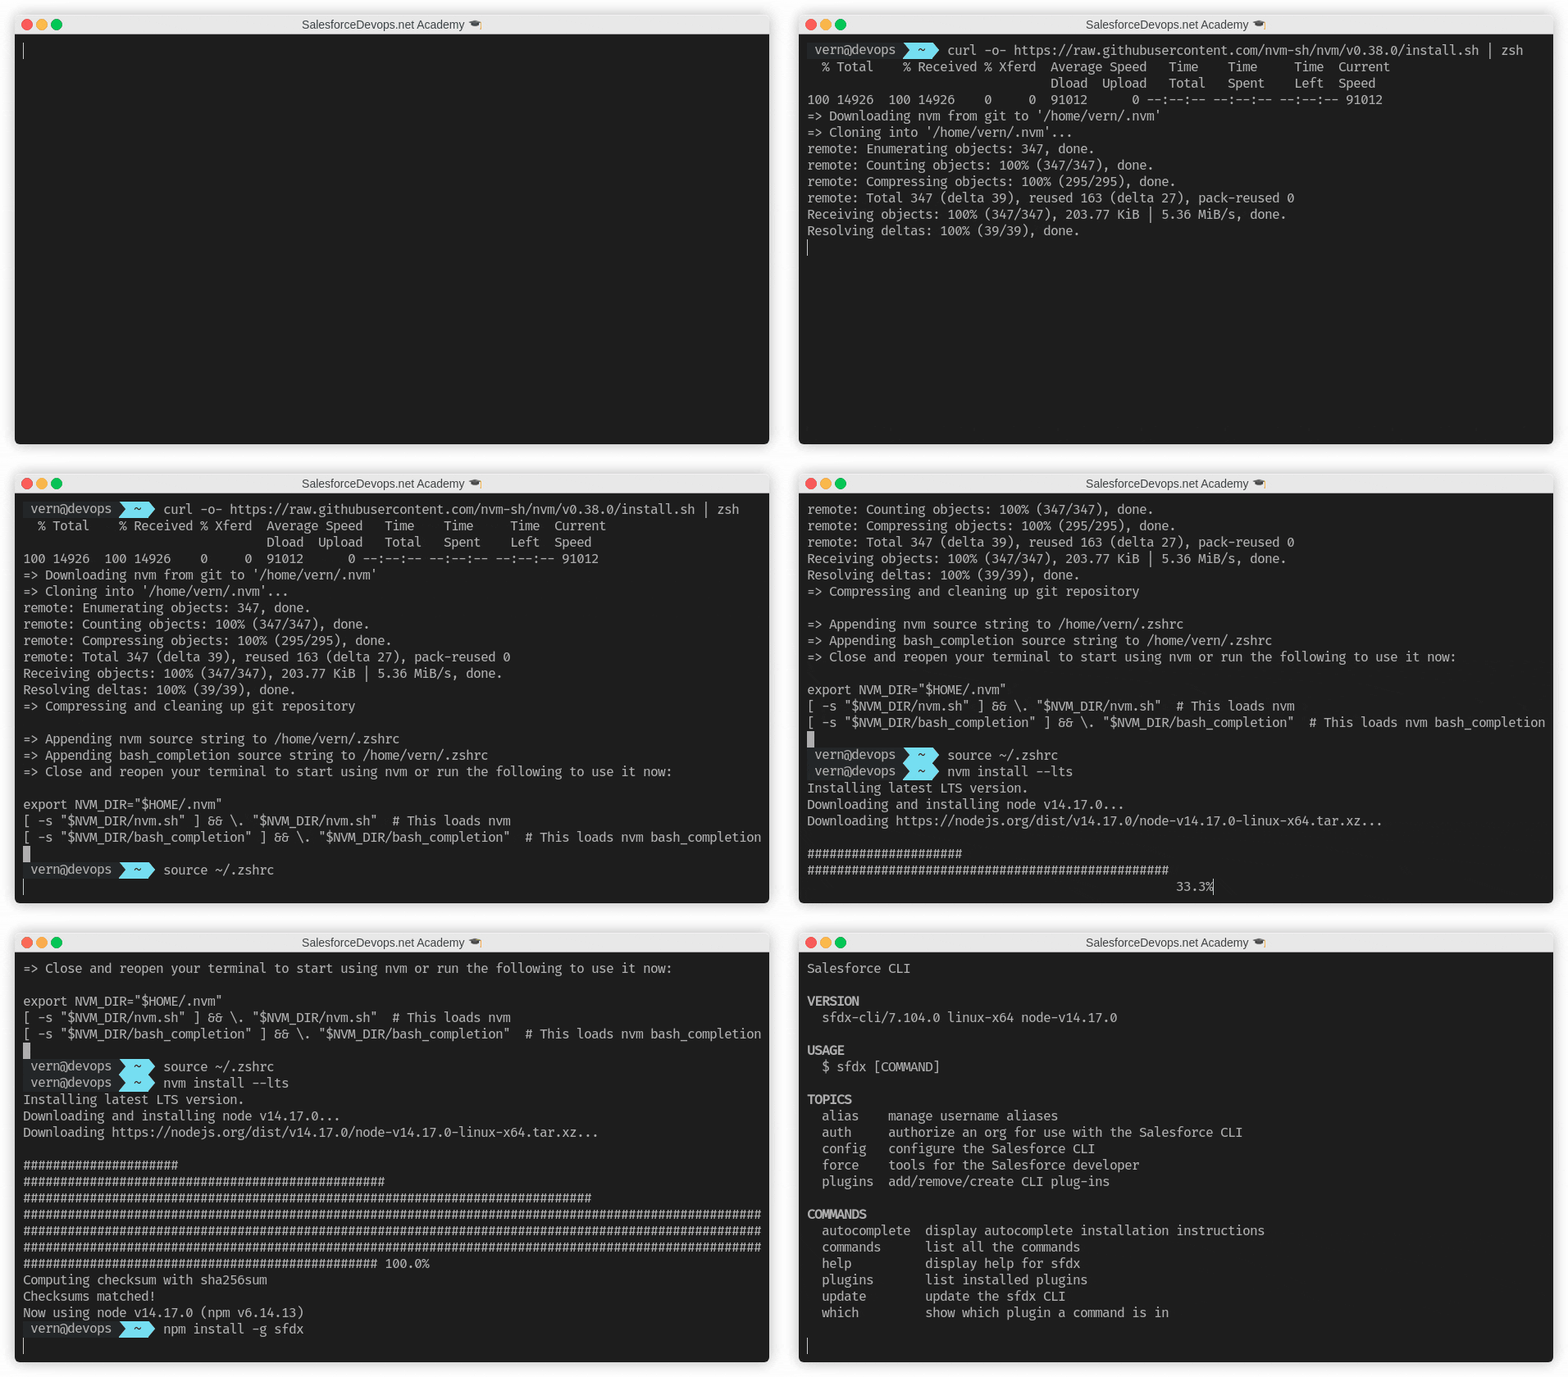
Install the Node Version Manager with these commands:
curl -o- https://raw.githubusercontent.com/nvm-sh/nvm/v0.38.0/install.sh | bash
source ~/.zshrc
Install NodeJS and NPM
Use these commands to install version 14 of NodeJS and version 6 of NPM :
nvm install --lts
Or, use this command to install version 12 of NodeJS and version 6 of NPM:
nvm install 12
Install SFDX-CLI
Now that NPM is installed, we can install SFDX-CLI using the global NPM directory.
npm install sfdx-cli -g
Check your installation with this command:
sfdx
You should get back text that displays the CLI version plus some help text.
Using SFDX-CLI Autocomplete
This installation of SFDX-CLI allows you to explore the many SFDX-CLI options with tab completion. Get started by typing “sfdx <tab><tab>” and then acknowledge you want to see all the options.
Try again by typing “sfdx force:auth:<tab>” to see the auth commands.
Next, try typing “sfdx force:auth:web:login –<tab>” to see all the parameters available on this command.
Full Script to Install SFDX-CLI
I hope this script saves you some time. Be sure visit GitHub and Star the gist if you like it!
Install SFDX-CLI and Power Up With Salesforce
In this tutorial I showed you my favorite way to install SFDX-CLI on an Ubuntu 20.04 installation with Zsh, Oh My Zsh, NVM, and SFDX-CLI autocompletion. Be sure to let me know if this tutorial has helped you on your road to becoming a Salesforce devops engineer!
